Saving temporary scratch layers using PyQGIS and visualizing them in your QGIS Project
Fellow researchers and open-source GIS enthusiasts,
Welcome to my blog!
I’d like to start with a disclaimer – I may be a researcher of this very area but that doesn’t mean everything I do or write here will work for you, in your own desktop configurations and package versions. I have no responsibility if you lose data or mess up your installation. I also do not authorize any copies of my content.
Today, I am writing about how to save temporary layers using the Python Console of QGIS.
Sometimes, I just want to try something new or see if a code I wrote on PyQGIS works. To do that, having to create a file in a known folder and then having to remember to manually delete it later is sometimes annoying. So, I wanted to have the option to save the files generated on PyQGIS in a scratch layer. After reading some of QGIS docs about it, I did some testing and could successfully save my results into a temporary scratch layer, later opening it and visualizing on the computer screen. Since, I have been saving the generated files in scratch layers whenever they are intermediate products, of auxiliary nature to the process I am running. This way, they are automatically deleted, and I don’t have to worry about them after executing my code. So, I decided to summarize how I save PyQGIS tool outputs in scratch layers, in case this is useful to someone out there! Of course, there is so much more information in the docs than here in my post. Please consider my post here as a starting point not a full-blown guide, because I, for sure, didn’t exhaust the possibilities of saving and opening layers in PyQGIS with this post!
Well, before writing about saving scratch layers on PyQGIS, I’ll do a quick recap on how to save files generated in PyQGIS in a permanent layer file and how to open this file to see the results in your project.
Saving and opening a non-temporary (permanent) layer file
Almost every tool that can be ran in the Python Console of QGIS has an output. Generally, when people want to keep this output for later use, they save this layer in a (non-temporary) folder in their computer. To do so, I simply set the output parameter as following:
'OUTPUT' : 'output_location.shp'
This, I would compose in a dictionary with other parameters used to run a given algorithm, and then proceed to run this algorithm by calling processing.run. Example:
paramwedge={ 'AZIMUTH' : 0, 'INNER_RADIUS' : 0, 'INPUT' : 'point.shp', 'OUTER_RADIUS' : 1, 'OUTPUT' : 'output_location.shp', 'WIDTH' : 45}
processing.run("native:wedgebuffers", paramwedge)
Because I know the folder and name under which the resulting file has been saved, there is no need to attribute the result of processing.run to a variable. And, to open the generated file, I can simply use
new_layer = QgsVectorLayer('output_location.shp', 'name_of_the_layer', 'ogr')
To add the new layer to the project, I would type:
QgsProject.instance().addMapLayers([new_layer])
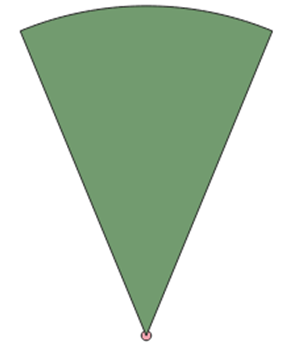
There it is:
Saving and opening a temporary layer file
To save a temporary scratch layer file, I set the output location in the parameter dictionary as “memory:”. Yes, with the two dots “:”.
'OUTPUT' : 'memory:'
The whole parameter dictionary would look like this (in this example, for the wedge algorithm):
paramwedge={ 'AZIMUTH' : 0, 'INNER_RADIUS' : 0, 'INPUT' : 'point.shp', 'OUTER_RADIUS' : 1, 'OUTPUT' : 'memory:' , 'WIDTH' : 45}
When running the tool with processing.run, assign the output of the function to a variable. Example:
layer_wedge=processing.run("native:wedgebuffers", paramwedge)
This automatically generates a QgsVectorLayer object in layer_wedge[‘OUTPUT’], as shown below:
>>> type(layer_wedge)
<class 'dict'>
>>> type(layer_wedge['OUTPUT'])
<class 'qgis._core.QgsVectorLayer'>
To open the layer into the QGIS Project and see its content, add the layer using the same tool as we would use for the permanent layer, but call layer_wedge[‘OUTPUT’] directly. To apply any other tool or transformation to this layer, we should also call it by layer_wedge[‘OUTPUT’].
QgsProject.instance().addMapLayer(layer_wedge['OUTPUT'])
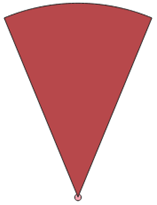
Here is the generated wedge, again! With the advantage that, this one, I won’t have to manually delete after closing QGIS!
Luísa Vieira Lucchese
Research Assistant Professor
Research Assistant Professor at University of Pittsburgh